How to Set Up Your Arlo Smart Home Security Camera System
Smart home security systems continue to evolve, and Arlo remains a leading choice due to its advanced features and user-friendly setup. This updated guide will walk you through the installation process of your Arlo security camera system, ensuring optimal performance and security for your home.
Overview of the Arlo Smart Home Security Camera System
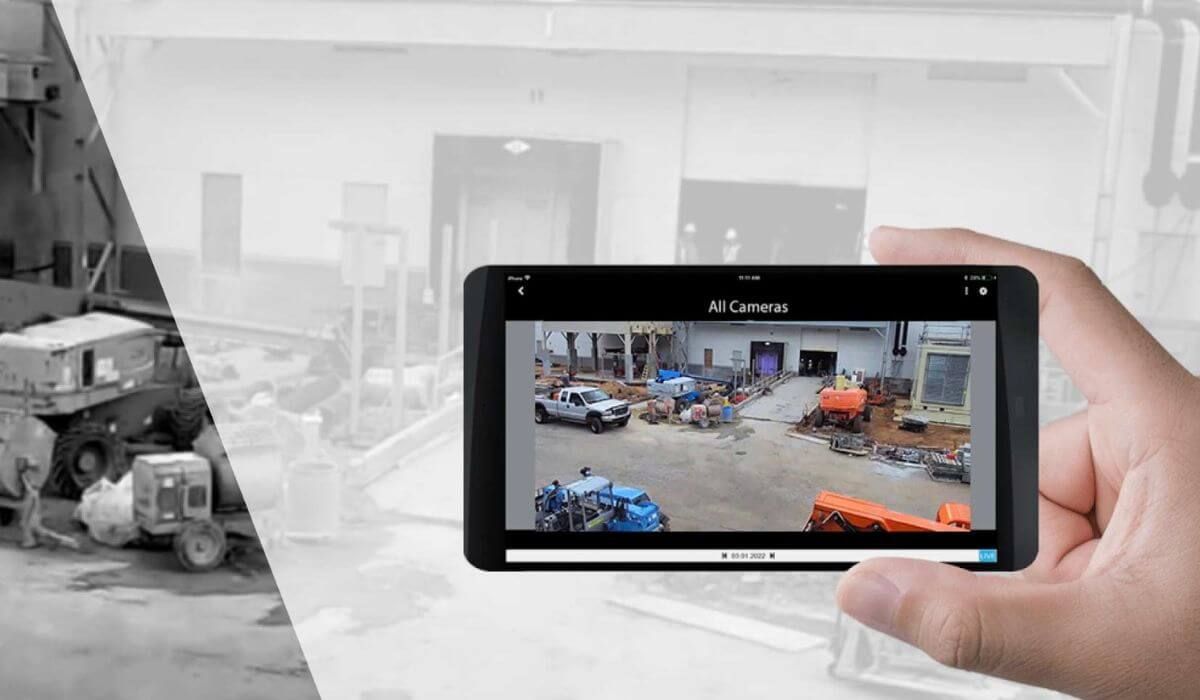
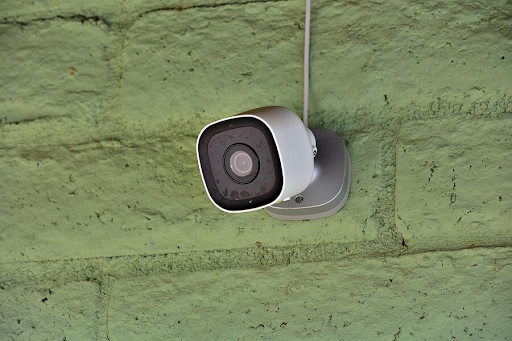
Arlo's security systems are renowned for their wireless connectivity, high-definition video quality, and night vision capabilities. These features provide comprehensive home security with ease of installation.
Key Features and Capabilities
- Wireless Connectivity: Simplifies installation by eliminating extensive wiring.
- HD Video: Delivers clear and detailed footage.
- Night Vision: Ensures visibility even in low-light conditions.
Preparing for Installation
Before beginning the setup, ensure you have the following:
- Arlo Secure App: Download the latest version from the App Store or Google Play.
- Stable Wi-Fi Connection: A strong 2.4 GHz Wi-Fi network is essential.
- Mounting Kits: Included with your Arlo cameras for easy installation.
- Batteries: Ensure you have the required batteries for your cameras.
Step-by-Step Installation Process
1. Download the Arlo Secure App: Available on both iOS and Android platforms.
2. Create or Log into Your Arlo Account: Open the app and sign in or create a new account.
3. Add New Device: Tap "Add New Device" and select your camera model.
4. Connect to Wi-Fi:
- Ensure your mobile device is connected to a 2.4 GHz Wi-Fi network.
- Follow the in-app instructions to connect your camera to Wi-Fi.
5. Sync Cameras:
- For wire-free models, press and hold the Sync button until the LED blinks blue.
- For models requiring a SmartHub or Base Station, ensure these are set up and follow the app's guidance.
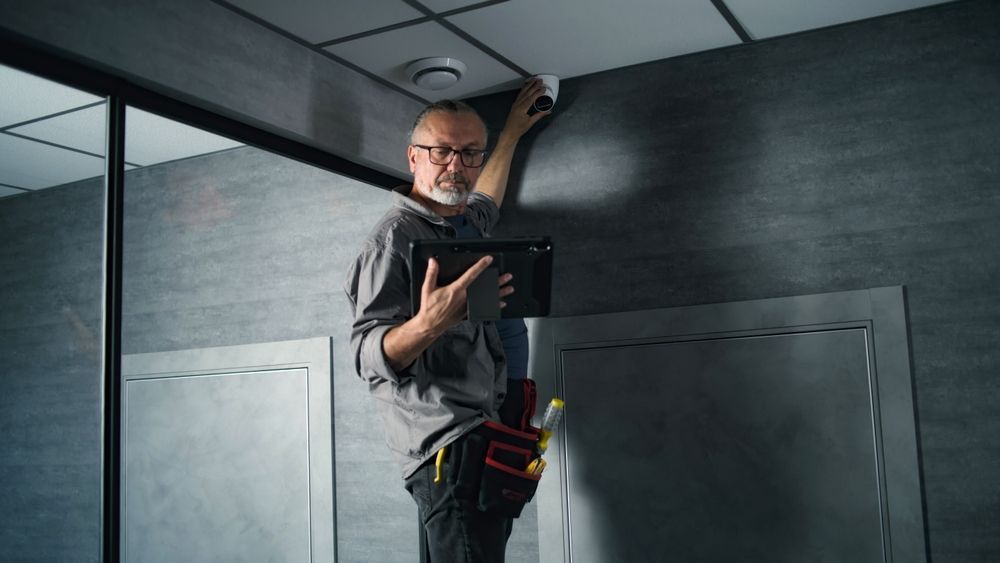
6. Mount Cameras: Use the provided mounting kits to place your cameras in desired locations around your home.
Configuring Your System for Optimal Use
After installation, customize your system settings via the Arlo Secure App:
- Motion Detection Settings: Adjust sensitivity to reduce false alarms.
- Activity Zones: Define specific areas to monitor for motion.
- Alert Types: Choose how you receive alerts, such as push notifications or emails.
Maintenance and Troubleshooting
To ensure your Arlo system operates smoothly:
- Firmware Updates: Regularly update your cameras' firmware through the Arlo app.
- Battery Life: Monitor battery levels and replace batteries as needed.
- Camera Cleaning: Keep camera lenses clean for clear video quality.
Conclusion
Setting up your Arlo smart home security camera system is straightforward with the right guidance. By following this updated step-by-step guide, you can enhance your home's security and enjoy peace of mind. Stay informed about the latest features and maintenance tips to keep your system running smoothly.
FAQs
Can the Arlo camera system integrate with other smart home devices?
Yes, Arlo cameras are compatible with popular smart home platforms like Google Home, Amazon Alexa, and Apple HomeKit, allowing for seamless integration with other smart devices in your home.
What should I do if my Arlo camera goes offline?
If your Arlo camera goes offline, try these troubleshooting steps:
- Check Wi-Fi Connection: Ensure your Wi-Fi network is functioning correctly.
- Restart Camera and Base Station: Power cycle your camera and base station.
- Update Firmware: Verify that your camera's firmware is up to date.
For more detailed instructions and support, visit Arlo's official support page:
Wireless Security Camera Systems | Home Security | Arlo