How to Install PoE Security Camera?
In an era where security is paramount, installing a PoE (Power over Ethernet) security camera system offers a streamlined and efficient solution for safeguarding your property. PoE technology allows both power and data to traverse a single Ethernet cable, simplifying installation and reducing clutter. This method is particularly advantageous for Australian homeowners and businesses seeking reliable surveillance solutions.
Understanding PoE Security Cameras
PoE security cameras are devices that receive power and transmit data through a single Ethernet cable. This integration minimizes wiring complexity and enhances the flexibility of camera placement, as there's no need to position cameras near power outlets. For those in Australia considering such systems, it's essential to understand both the technical aspects and legal considerations of installing PoE cameras.
Check out this article for more information about Power over Ethernet: Understanding What is Power over Ethernet
Advantages of PoE Security Camera Systems
- Simplified Wiring: Utilizing a single cable for both power and data reduces the number of cables needed, leading to a tidier installation.
- Cost-Effectiveness: By leveraging existing network infrastructure, PoE systems can lower installation and maintenance expenses.
- Flexible Camera Placement: The reduced need for separate power sources allows for more versatile positioning of cameras to cover critical areas effectively.
If you want to know more about Power over Ethernet and how it is implemented into security systems, check out this article: Understanding Power Over Ethernet (PoE) and Its Security Applications
Planning Your Installation
Before diving into the installation process, careful planning is crucial to ensure your system meets your security needs.
Assess Your Security Requirements
- Identify Surveillance Zones: Determine which areas require monitoring, such as entry points, driveways, or common areas.
- Decide on Camera Types and Quantities: Choose between indoor or outdoor cameras, considering features like resolution and field of view, and decide how many are necessary to cover all identified zones.
Evaluate Network Capacity
Ensure your current network can support the additional load from PoE cameras. This involves checking your router's capacity and considering the potential need for a dedicated PoE switch.
Select Appropriate Equipment
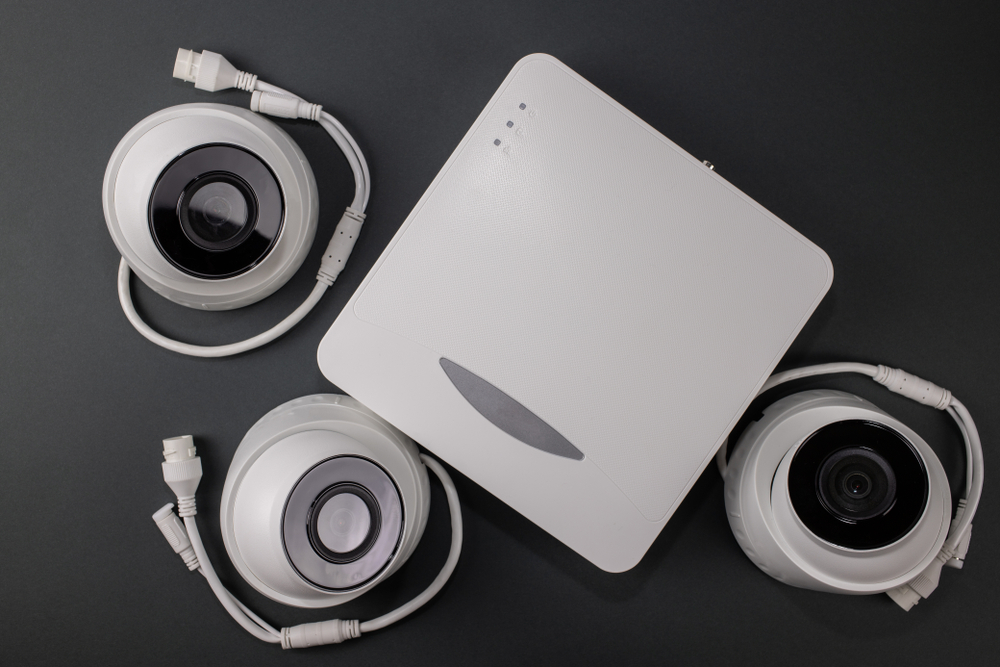
Hardware supplies:
- A POE IP camera
- A Network Video Recorder (NVR)
- A POE switch or injector
- An Ethernet cable
Tools: Screwdriver, drill, ladder.
Installation Steps
With your plan in place, follow these steps to install your PoE security camera system:
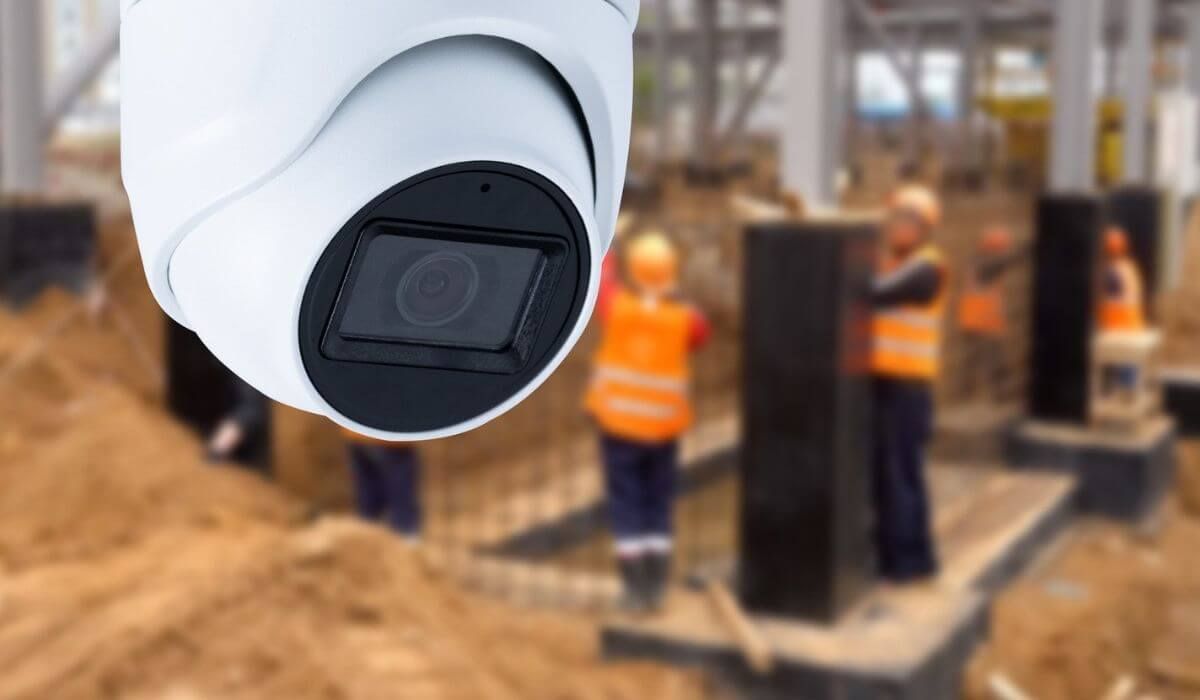
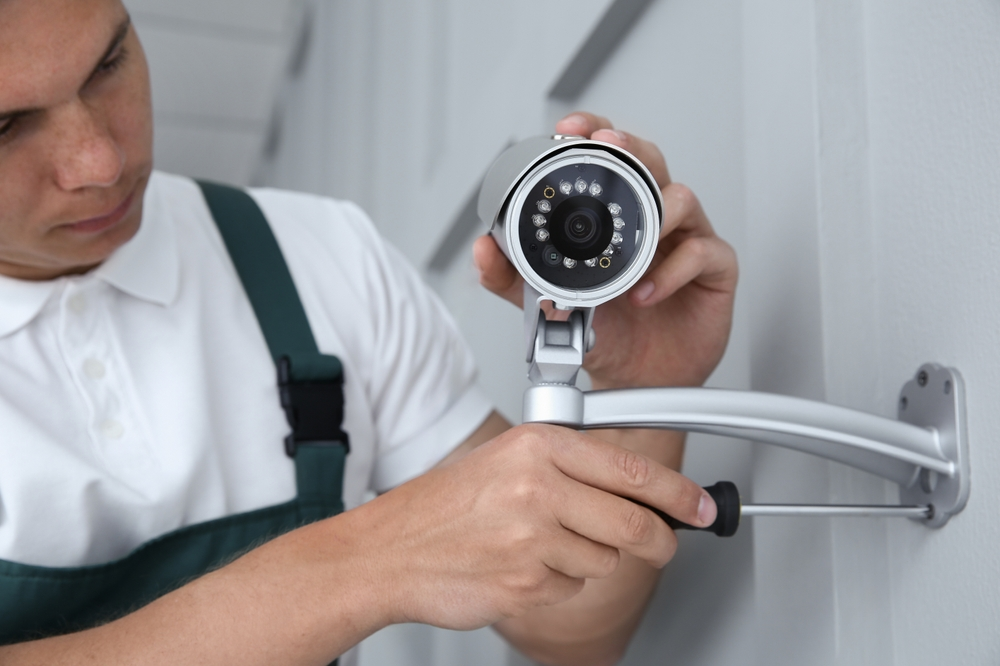
1. Mounting Cameras
- Determine Optimal Placement:
- Identify areas requiring surveillance and select mounting locations that provide comprehensive coverage.
- Consider factors such as field of view, potential obstructions, and lighting conditions.
- Secure Mounting:
- Use appropriate mounting hardware to attach cameras firmly to walls or ceilings.
- Ensure cameras are positioned to avoid tampering and are protected from environmental factors.
2. Running Ethernet Cables
- Plan Cable Routes:
- Design cable paths that minimize exposure to potential damage and interference.
- Consider the aesthetics and safety of the installation environment.
- Select Suitable Cables:
- Use high-quality Cat5e or Cat6 Ethernet cables to ensure reliable data transmission.
- Ensure cables are rated for in-wall or outdoor use as required.
- Install Cables:
- Run cables from each camera location to your network hub or PoE switch, securing them along the planned routes.
- Use cable management solutions like conduits or raceways to protect and conceal cables.
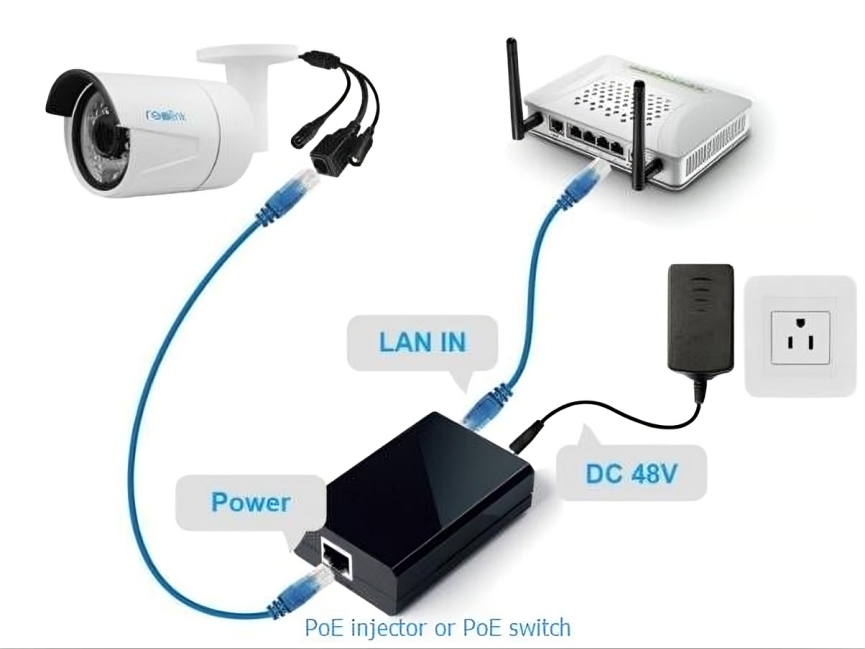
3. Connecting to PoE Switch
- Connect Cameras:
- Plug the Ethernet cables from cameras into the PoE ports on the switch.
- Ensure each connection is secure and corresponds to the intended camera.
- Network Integration:
- Connect the PoE switch to your router or network hub to integrate the cameras into your network.
- Verify that the network infrastructure can handle the additional load.
- Power On:
- Ensure the PoE switch is powered and verify that cameras receive power and establish network connectivity.
- Check indicator lights on the switch and cameras for confirmation.
4. Configuration and Testing
- Access Camera Settings:
- Log into each camera's web interface to configure settings such as IP addresses, resolution, and motion detection.
- Set strong, unique passwords for each camera to enhance security.
- Integrate with NVR:
- Add cameras to your Network Video Recorder (NVR) system for centralized monitoring and recording.
- Ensure the NVR recognizes each camera and is configured to record as desired.
- System Testing:
- Verify video feeds for clarity and coverage.
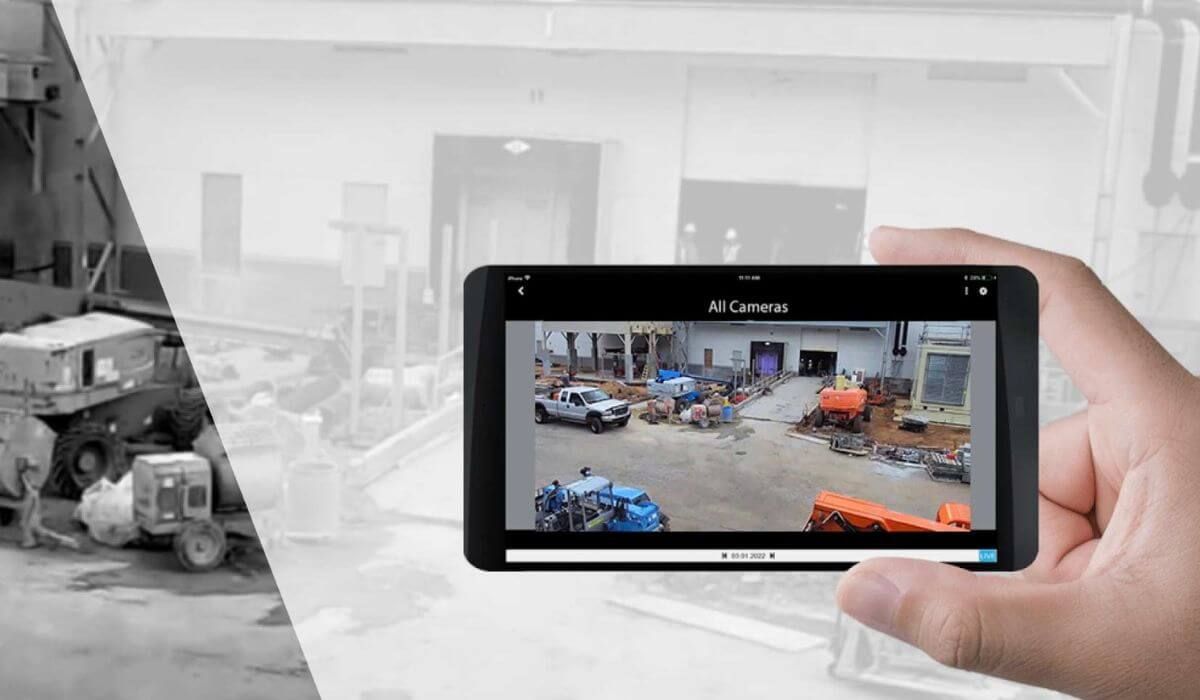
- Test motion detection and ensure remote access functionalities are operational.
- Simulate different scenarios to confirm system reliability.
Maintenance and Troubleshooting
Regular Maintenance
- Inspect Cameras: Periodically check camera lenses for obstructions or dirt that could impair image quality.
- Update Firmware: Keep camera firmware up to date to benefit from security patches and new features.
Troubleshooting Common Issues
- No Power: Confirm that the PoE switch is powered and functioning correctly.
- Connectivity Problems: Check Ethernet cable connections and verify network settings.
- Poor Video Quality: Inspect camera lenses and adjust settings as needed to improve clarity.
Frequently Asked Questions (FAQ)
Q: What is a PoE security camera?
A: A PoE security camera is a surveillance device that receives both power and data through a single Ethernet cable, simplifying installation and reducing the need for multiple cables.
Q: Can I install PoE cameras myself, or should I hire a professional?
A: While DIY installation is possible, hiring a professional ensures optimal camera placement, proper wiring, and system configuration, leading to enhanced performance and reliability.
Q: What type of Ethernet cable should I use for PoE cameras?
A: It's recommended to use high-quality Cat5e or Cat6 Ethernet cables to ensure reliable data transmission and adequate power delivery.
Q: How do I ensure my PoE camera system is secure from hacking?
A: To enhance security, change default passwords, regularly update firmware, use strong, unique passwords, and consider network segmentation to isolate the camera system from other devices.
Q: What maintenance is required for PoE security cameras?
A: Regular maintenance includes cleaning camera lenses, checking for obstructions, ensuring firmware is up-to-date, and periodically reviewing camera footage to verify proper operation.
Conclusion
Installing a PoE security camera system enhances the safety and security of your property through simplified wiring, cost savings, and flexible camera placement. By following the steps outlined above and considering legal requirements, you can set up a reliable surveillance system tailored to your needs. For professional installation and expert guidance, consider reaching out to Scavi, your trusted partner in security solutions.
Note: Always ensure compliance with local regulations and standards when installing security systems.