How to Install a Fire Alarm Call Point in Australia – Step-by-Step
How to Install a Fire Alarm Call Point (Step-by-Step Guide)
In the event of a fire, seconds matter. While automatic smoke detectors are standard, manual call points (MCPs) give people the power to sound the alarm the moment danger is spotted—no waiting, no guessing. For businesses and public spaces across Australia, installing these devices isn’t just smart—it’s required.
So, how to install a fire alarm call point the right way? Whether you’re a facility manager, property owner, or contractor, this guide from SCAVI, Sydney’s trusted fire alarm installation team, walks you through everything: regulations, placement, wiring, and integration. Get installation right, stay compliant, and keep people safe.
What Is a Fire Alarm Call Point and Why Is It Crucial?
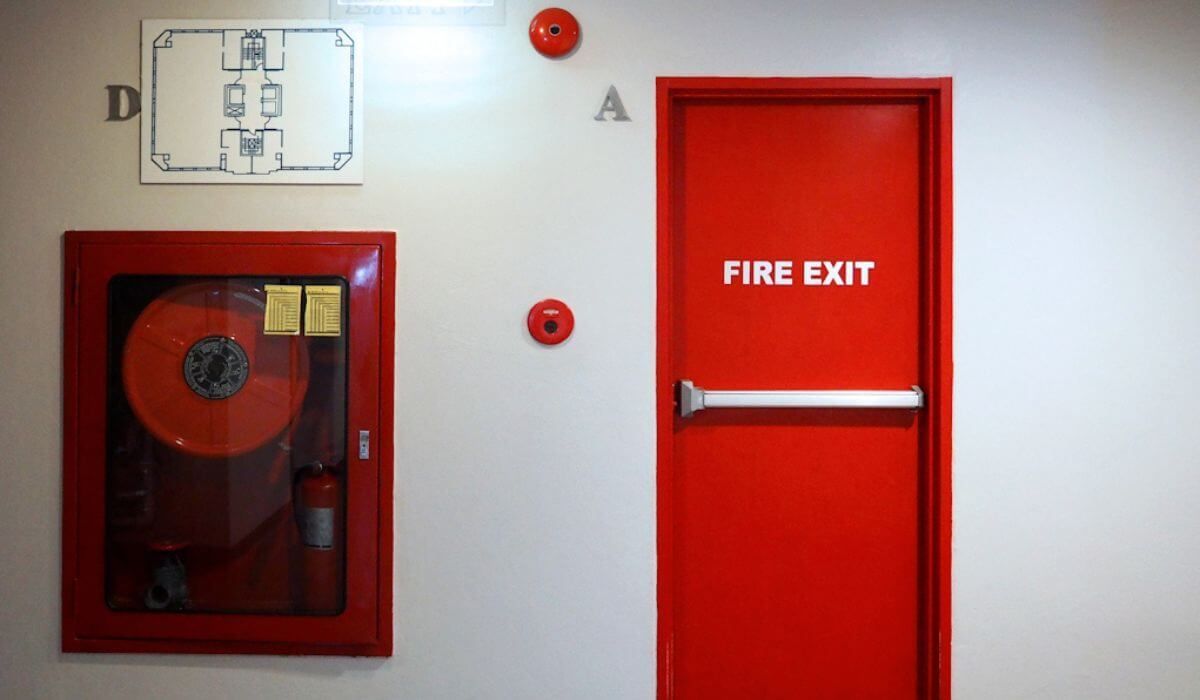
A fire alarm call point is a device that allows individuals to manually trigger a fire alarm system by pressing a button or breaking glass. Unlike automatic smoke or heat detectors, MCPs rely on human action—but that action can make all the difference in evacuation timing.
Manual Call Points vs. Automatic Fire Detectors
Automatic detectors work silently in the background, sensing smoke, heat, or particles in the air. Manual call points, by contrast, are installed where people can quickly trigger them, such as at exits or hallways. When smoke detectors fail to activate—or activate too late—MCPs provide essential redundancy.
How Fire Alarm Call Points Enhance Building Safety
In large, multi-storey buildings or high-traffic zones, alarm delays are dangerous. A strategically placed call point lets staff, visitors, or occupants raise the alarm at the first sign of smoke or fire, even before sensors detect it.
The Importance of Proper Installation and Positioning
It’s not enough to just have call points—they need to be installed where people can reach them without obstruction. Poorly placed or incorrectly installed MCPs can lead to slow responses, confusion during evacuation, or failure to comply with legal standards.
Where to Place Fire Alarm Call Points in a Building
Fire safety placement isn’t random—it’s regulated and strategic.
Australian Standards for Call Point Placement (AS 1670.1)
According to AS 1670.1, fire alarm call points must be installed:
- Within 2 metres of all designated exits
- On every level of the building
- Along escape routes, especially at stairwells and corridor junctions
These standards ensure that no matter where someone is in a building, they can raise the alarm within moments.
Strategic Placement: Entry/Exit Points, Corridors, and Risk Zones
Good placement considers not only legal compliance but human behaviour. Corridors, entry points, and staircases are high-traffic areas that people naturally head to during emergencies. These spots offer the best chance for someone to notice a fire and activate the alarm quickly.
Common Placement Mistakes and How to Avoid Them
Some installations fail simply because the call point is blocked—by a door, curtain, or even a decorative feature. Others are installed too high, too low, or out of the line of sight. Always review the building layout and test visibility from various approaches before finalising placement.
Manual Call Point Installation Height Requirements in Australia
Recommended Mounting Height According to Regulations
The standard installation height for MCPs in Australia is between 1.2 and 1.4 metres from the finished floor level. This height ensures the device is reachable by both standing adults and those using mobility aids.
Adjusting Height for Accessibility and DDA Compliance
If the building serves the public or includes individuals with disabilities, placement should follow Disability Discrimination Act (DDA) guidelines. This often means ensuring clear access from a wheelchair and appropriate signage for visibility.
Wall Mounting vs. Pole Mounting: Use Cases and Considerations
Most call points are wall-mounted, but in open spaces or outdoor environments—like warehouses or construction sites—a pole mount may be more practical. These setups must still meet height regulations and be fixed securely to prevent damage or tampering.
Tools, Equipment, and Pre-Installation Checklist
Before you begin, a clear checklist saves time and prevents mistakes.
Tools Required for Installation
Most installations will require a drill, screwdrivers, cable tester, and appropriate mounting brackets. Safety goggles, gloves, and a voltage detector are also essential to protect yourself and confirm that power has been properly isolated.
Electrical Safety Measures and Power Isolation Steps
Always turn off the power at the fire alarm panel before beginning work. Isolate the relevant loop or zone to prevent triggering the full alarm system during installation or testing.
Compliance Checklist Before Beginning Installation
Review layout plans to confirm zone coverage and escape routes. Make sure you’re using an MCP unit certified under AS 7240, and confirm whether the device is conventional or addressable, as this affects wiring and setup.
Step-by-Step Fire Alarm Call Point Installation Guide
Step 1 – Identify and Mark the Installation Point
Measure from the finished floor to ensure mounting height falls within 1.2–1.4 metres. Mark your mounting point clearly, avoiding obstructions and confirming visibility from common approach angles.
Step 2 – Mount the Back Box Securely
Use an appropriate surface-mount back box or flush mount frame. Secure it with anchors and screws. Ensure the box is level and well-supported—especially in high-traffic areas.
Step 3 – Wire the Call Point Correctly (Conventional or Addressable)
Follow the wiring diagram provided by the manufacturer. For addressable systems, loop continuity and correct polarity are critical. Use tinned copper wire and sealed connectors where required.
Step 4 – Fix the Call Point Unit and Label It
Once wired, mount the MCP onto the back box. Clearly label the zone or area served by this call point. This label helps emergency responders and maintenance crews identify the device quickly.
Step 5 – Test the Unit with Control Panel and Log Results
Use a test key or break-glass feature to trigger the device. Confirm the alarm is recognised at the control panel and logged. Always record the test result and date for compliance purposes.
Integration With the Fire Alarm Control System
For an MCP to work effectively, it must be properly integrated into the system.
Zone Configuration and Network Setup
MCPs should be grouped according to fire zones. These zones correspond with specific parts of the building and must appear clearly on the fire control panel.
Addressable vs. Non-Addressable Call Points – Pros and Cons
Addressable systems allow each call point to report its own identity and location, which helps pinpoint the exact origin of the alarm. While more expensive, they reduce false alarms and streamline maintenance. Conventional systems are grouped by zone and are more affordable but offer less detail.
Linking Multiple Call Points and Devices in One System
Fire alarm loops often connect multiple devices. When wiring multiple MCPs in a single loop, confirm continuity and resistance with a cable tester. Ensure each unit triggers correctly and does not interfere with others.
Common Installation Errors and How to Prevent Them
Even experienced installers make mistakes. The most common include incorrect height, obstructed positioning, loose wiring, and forgotten labelling. To avoid these, double-check all measurements and connections, and log every installed device with its zone and last inspection date.
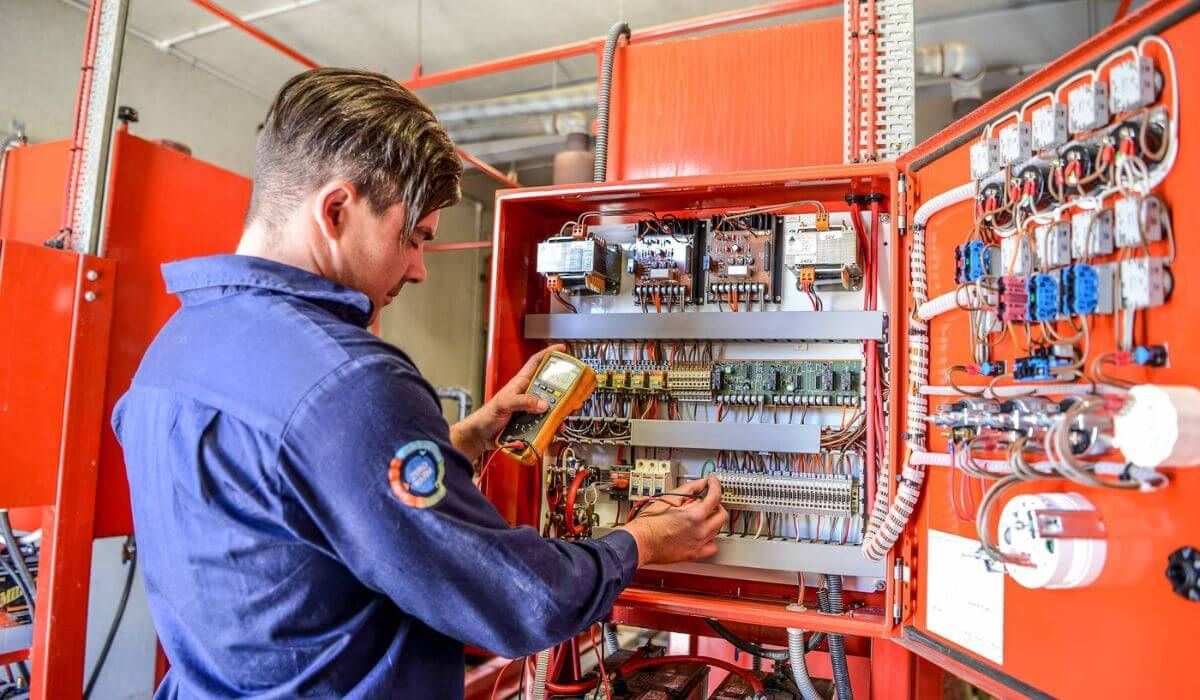
Why Hire a Professional for Fire Alarm Installation in Sydney
Installing MCPs isn’t just about connecting wires—it’s about compliance, safety, and reliability. At SCAVI, we specialise in fire alarm installation across Sydney, from small retail spaces to large industrial facilities. Our licensed technicians are trained in AS 1670.1 and AS 7240 compliance and bring over 15 years of experience.
We tailor every system to the specific building’s layout, occupancy type, and fire risk level. Whether you need just one call point installed or an entire alarm system integrated, SCAVI delivers start-to-finish solutions that meet code, satisfy inspections, and protect lives.
FAQs About Installing Fire Alarm Call Points
What’s the correct height for a fire alarm call point in Australia?
Between 1.2 and 1.4 metres from the finished floor level.
Can I install a manual call point without an electrician?
Only if it's part of a non-wired or temporary setup. Otherwise, a licensed electrician is required, especially for hardwired or addressable systems.
How many call points do I need per floor?
Generally, call points should be installed every 20 to 30 metres along escape routes.
Are call points connected to the fire panel or standalone?
They must be connected to a fire alarm control panel, which monitors and responds to activations.
Do call points need routine testing?
Yes. Under AS 1851, fire alarm call points must be tested every six months.
Install Fire Alarm Call Points with Confidence
If you’re wondering how to install a fire alarm call point, the key is getting it right from the start. Placement, height, wiring, and system integration all play a role in keeping your building safe and legally compliant.
At SCAVI, we combine technical knowledge with hands-on experience to deliver fire alarm solutions that work—whether you're upgrading a single warehouse or fitting out an entire office complex.
Contact SCAVI today to book your fire alarm installation in Sydney and ensure your call points are professionally installed, tested, and certified.